
Intall MMS Demo PowerApps for Intune
Hello and welcome!
This post is being made as a supplemental post to help you install the PowerApps demo App that @manageDoug and I presented on in our session, PowerApps for Systems Administrators: Getting the most out of low code tools in your organizations, at MMSMOA 2022. This is not an exhaustive break down of how the tool was built. I will cover that in detail in future posts on my series on automating endpoint management workloads.
This post covers the step-by-step process required to install the demo app in your environment. As a bonus I have also included a second version of the app with additional features, including additional actions and the ability to send a custom notification from the app.
Both apps have been uploaded to Sched. They are also available in my GitHub repository.
Let me tell you a secret
These apps only require a single connector. They store the ClientID and ClientSecret in Azure Key Vault. If you do not have an Azure Key Vault, please set one up. If you aren’t familiar with Azure Key Vault, you can set one up based on the instructions in this blog post. You will also need an app registration that has access to read users and perform privileged operations on managed devices. I talk about setting up an app registration in this post. Create a client secret and copy the client (app) ID of the app registration you have created, and then continue with the instructions below.
The PowerApps we created in the session use two secrets stored in Azure Key Vault. Create two secrets – ClientSecret and ClientID in Azure Key Vault.
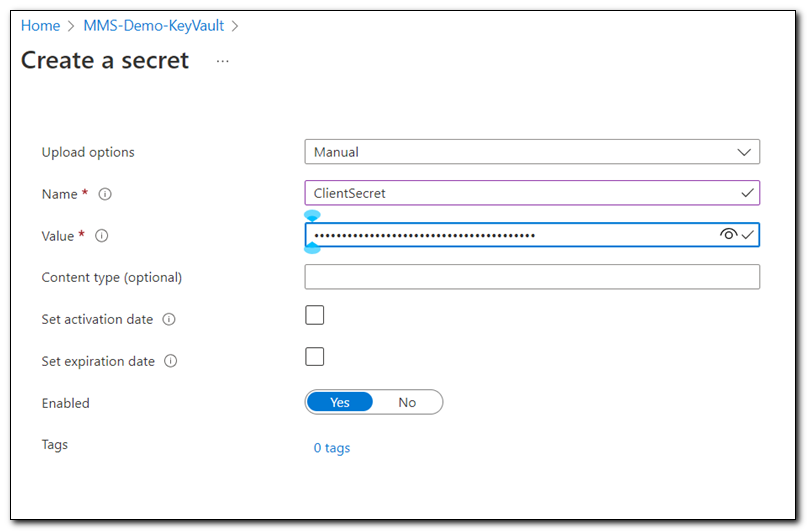
The ClientID should be set to the Application (client) ID from your app registration. The ClientSecret should be the secret created in the app registration. Note that the names must match for the PowerApps to work without being edited.

Check your Azure Key Vault access policies to confirm that your user has rights to read secrets from Azure Key Vault

And on to the IMPORTant stuff! Let’s import the apps!
Open PowerApps (https://powerapps.microsoft.com), click on Apps, and select “Import canvas app” from the ribbon.

If you haven’t already, download the zip file for the app you would like to import from sched for from my GitHub. Click the Upload button to browse for a file to import.

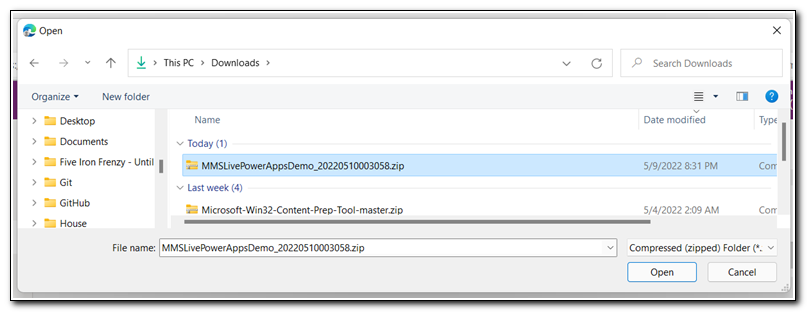
Search for the .zip file of the PowerApp you want to upload and click Open.
The upload button will turn gray and say “uploading.”
You will be taken to an Import Package screen. Most items should show a green check box. There will be an error on the Azure Key Vault connector.
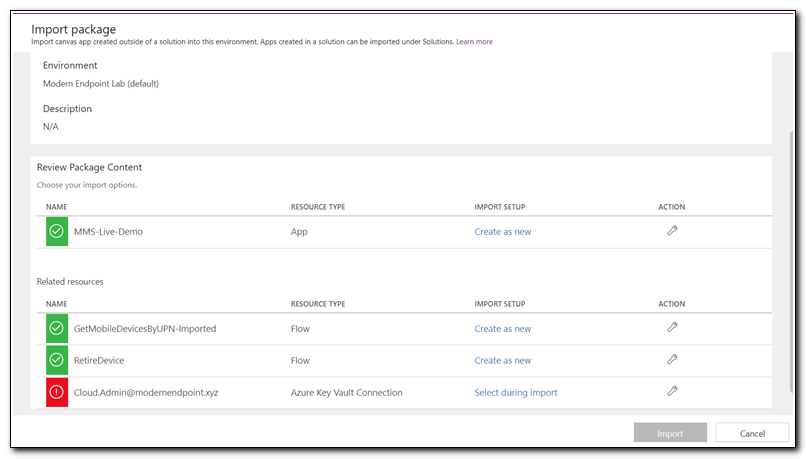
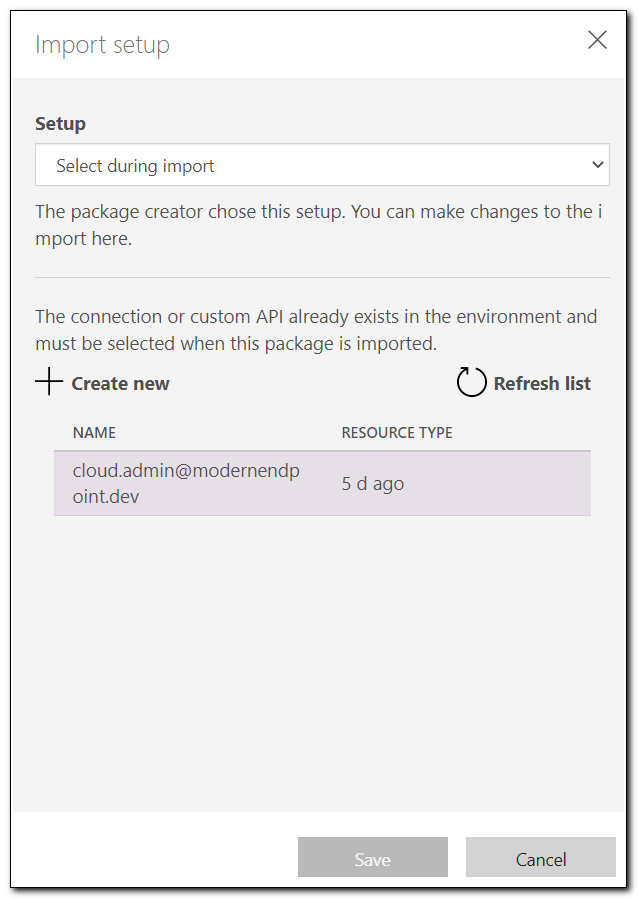
Click “Select during import” on the Azure Key Vault Connection.

Select an existing Azure Key Vault connector or create a new one and click save. Click Import at the bottom of the import screen to complete the import.
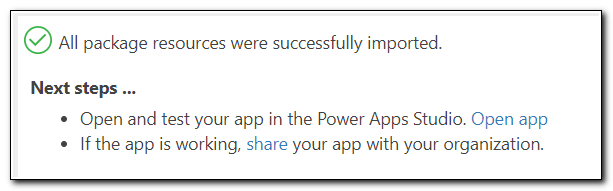
Once the import has completed you should receive a message saying all packages resources were successfully imported. Click the link to open your app.
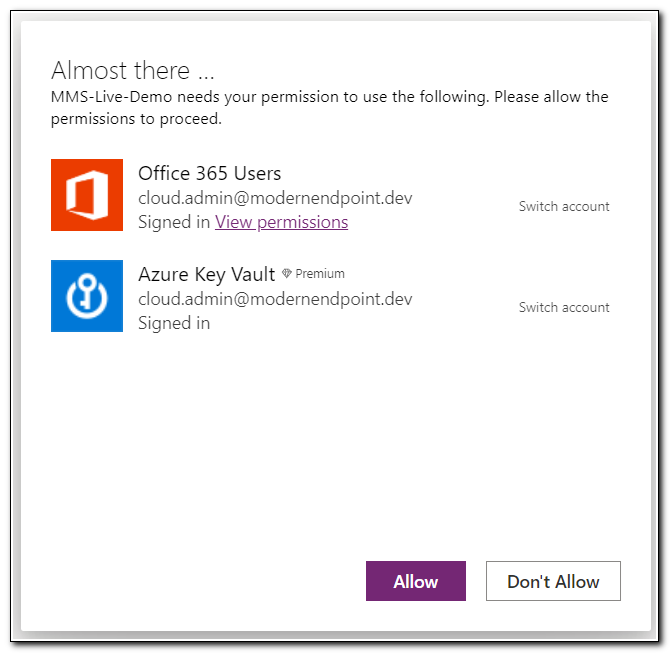
When the app opens you will be prompted to give permission to Azure Key Vault and the Office 365 Users connectors. Click Allow.
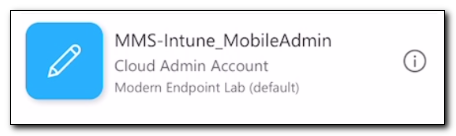
Once the app has been imported, you can publish it and open it in a browser or from your phone. The following example was performed from an iPhone. Click the Power Apps icon to launch the app.
Find the app in your list of apps and click the icon to open it.
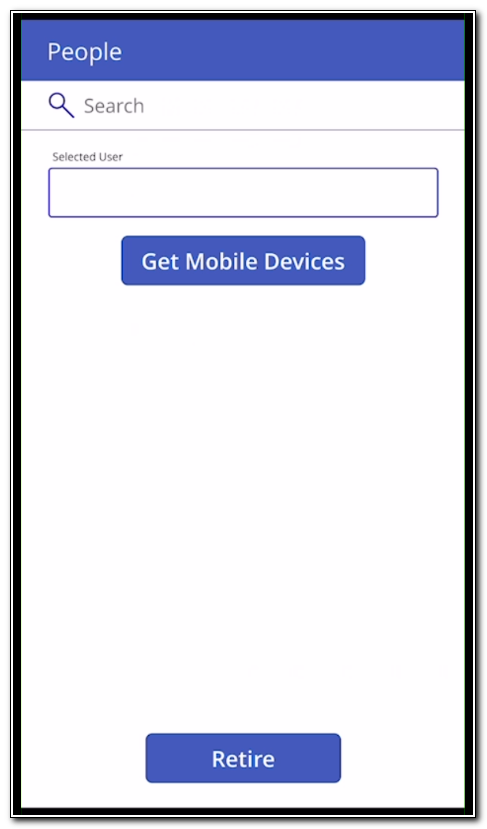
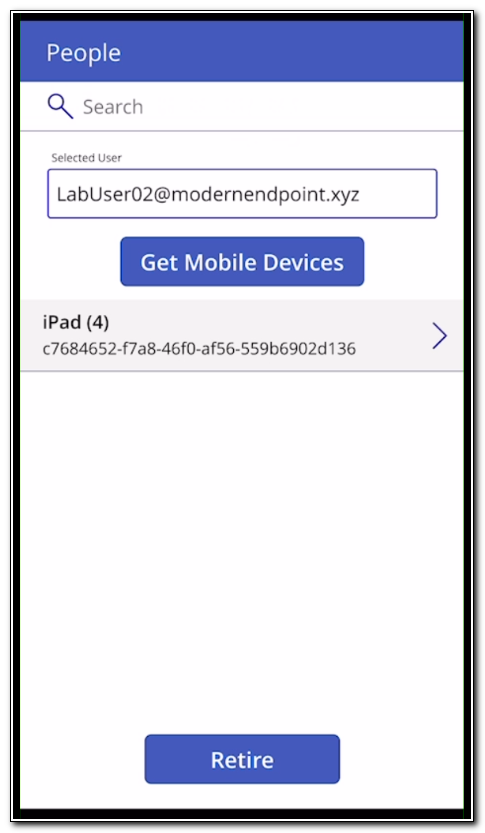
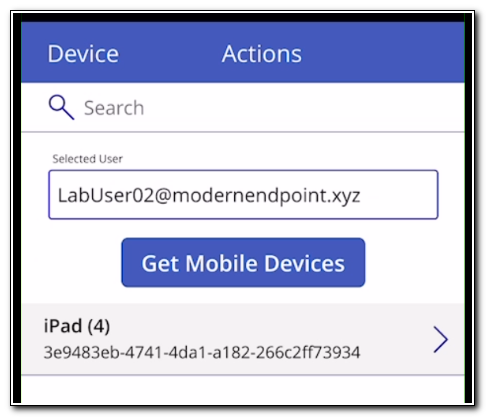
The app should load. The demo app consists of an Office 365 people picker, a text box, label, two buttons, and a gallery.
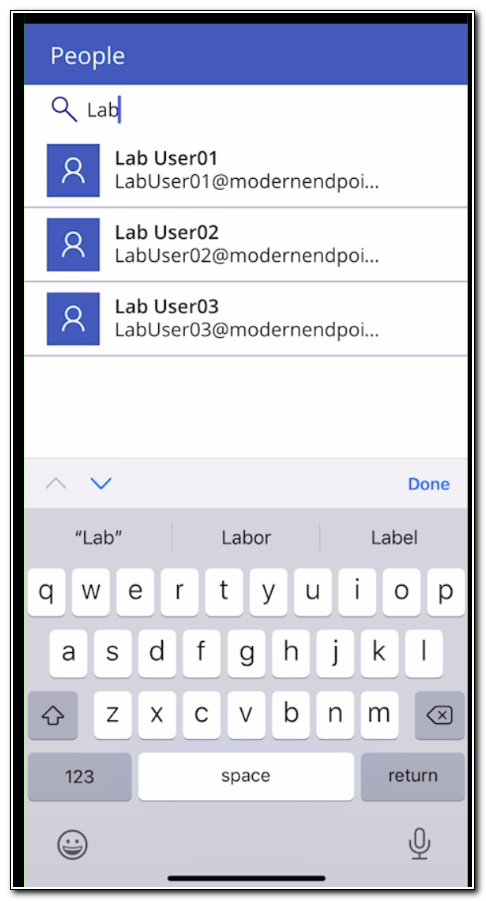
To search for a user, begin typing. After the first 3 characters it will offer a list of search suggestions. By default this returns up to 15 matches. Keep typing for better accuracy.
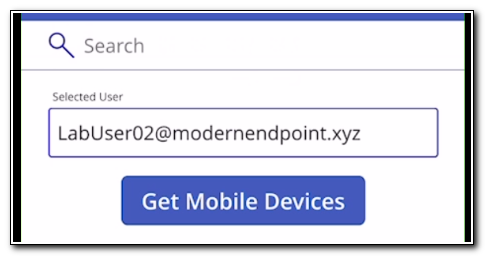
After selecting a user, the selected user text box should be populated with the user’s userPrincipalName. Click “Get Mobile Devices” to return a list of their (non-Windows) devices.
A list of the user’s devices should be returned. Select a device and click “Retire.”
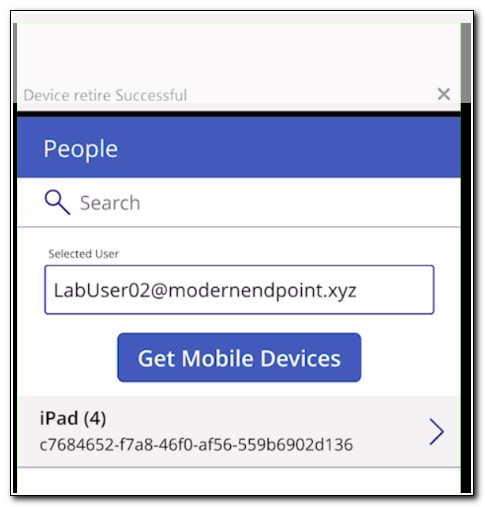
Once the POST request has been completed, a notification should appear saying the action was successful. The device should now be retired from Intune and company data should be removed.
If you installed the full version of the application, find it in PowerApps to launch the application.
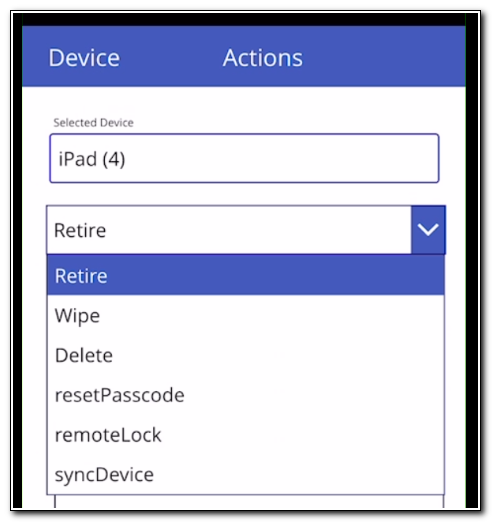
The full version is similar, but you will notice a few changes on the home screen. First, there are two tabs at the top of the screen – Device and Actions. This app has additional actions available. It is still based on returning a user’s devices and selecting the target device on the first screen though.
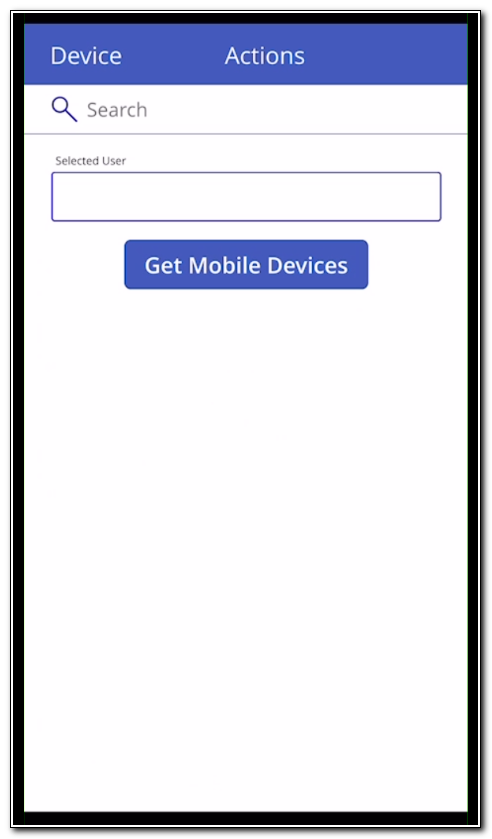
Search for a user and click Get Mobile Devices to return a list of devices. Select a device from the list of devices. This will take you to the Actions screen and populate the device name field.
There is a list box with several actions available. If you select an action and click “Do Work!” the selected action will be performed on the targeted device.
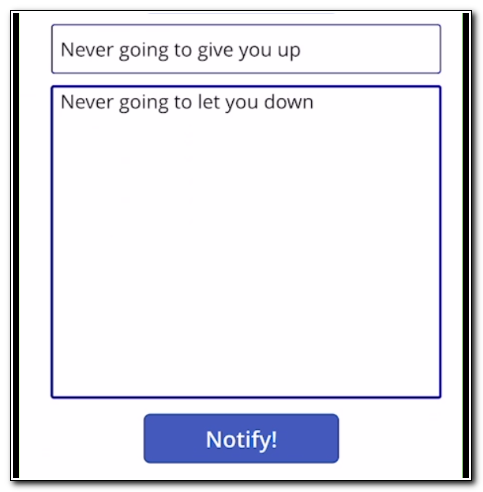
Finally, the larger application also has the option to send a notification to an end user’s device using Intune. Enter a title and text for your notification and click Notify to send a notification to the end user.
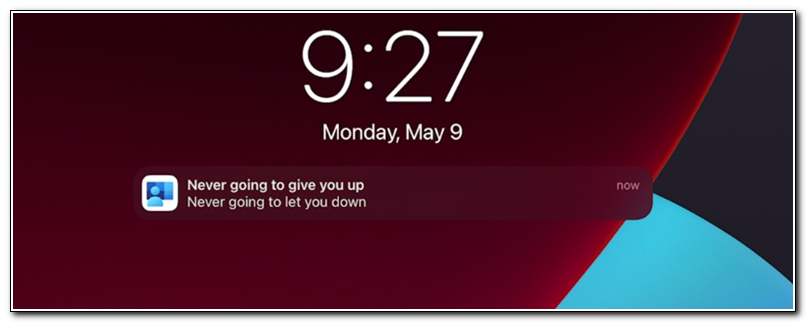
The user will receive a notification from the Company Portal on their targeted device.
And in summary of the summary…
Thank you for reading! I know this post didn’t get into any of the real specifics on how these apps were built. It was intended to help session attendees know how to install the PowerApps that were discussed in demos. Future blog posts will go in depth on how the workflows and apps were created, including explaining the reasoning behind some design decisions. These are simple apps meant to demonstrate the art of what’s possible.
If there is community interest in having these built out further, please let me know. I am happy to add additional features if people will use them. If you want to contribute to this project, feel free! This was designed to be shared with the community and let people use it as a base for building their own tools!
Keep following for more great content!