
MMS Intune Management PowerApp Demo Part 3: Adding the buttons, gallery, and completing the app
Hello and welcome back! I apologize for the delay in posting this blog, which will complete the series on building the demo Intune management Power App that Doug Wilson and I built during our session at MMS. The last several months have been extremely busy. I finally had a chance to take a break and go on vacation. I planned on completing the series before I left, but rather than rushing to complete this post I decided to relax and unplug. Mental wellbeing is more important than timely blog posts, so I decided to step away from the computer and begin my vacation a few hours earlier!
I have already introduced the Power App in a previous blog post and created the underlying Power Automate flows. In my last post I created the app and added several controls to it. In today’s post I will complete the app by adding a gallery and two buttons. Those buttons will call the Power Automate workflows that call Microsoft Graph and will return and retire devices from Intune.
Let’s do this!
We’ve already added a user lookup tool and a text box to display user we select. Next, we will create two buttons. The first one will call the Get User Devices flow. The second one will call the Retire Device flow. Both flows will return a response to our Power App.
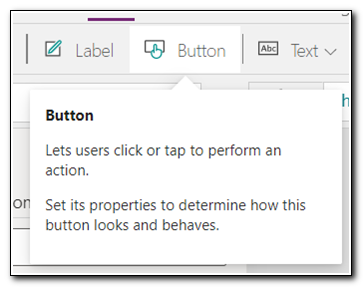
Click on the “Button” icon on the ribbon to add our first button.
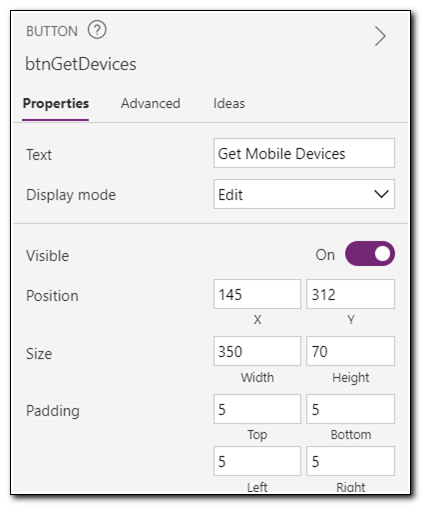
We can rename the button by clicking on the button on the tree view on the left side of the canvas. Rename the button, in this case, I renamed the button to btnGetDevices. We will use the properties menu to change the button’s appearance. Change the text property to “Get Mobile Devices.” We can adjust the width of the button to better display the text. Set the width to 350 and the height to 70.
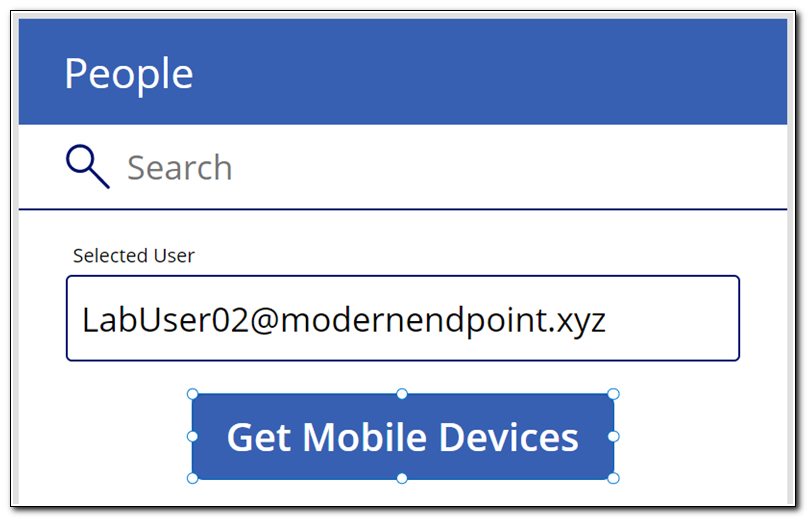
Click on the button it to position below the selected user text box. If you drag the button across the screen, it should try to snap to the grid created by other elements. Drag it toward the center and let it snap to the center of the canvas below the selected user text box.
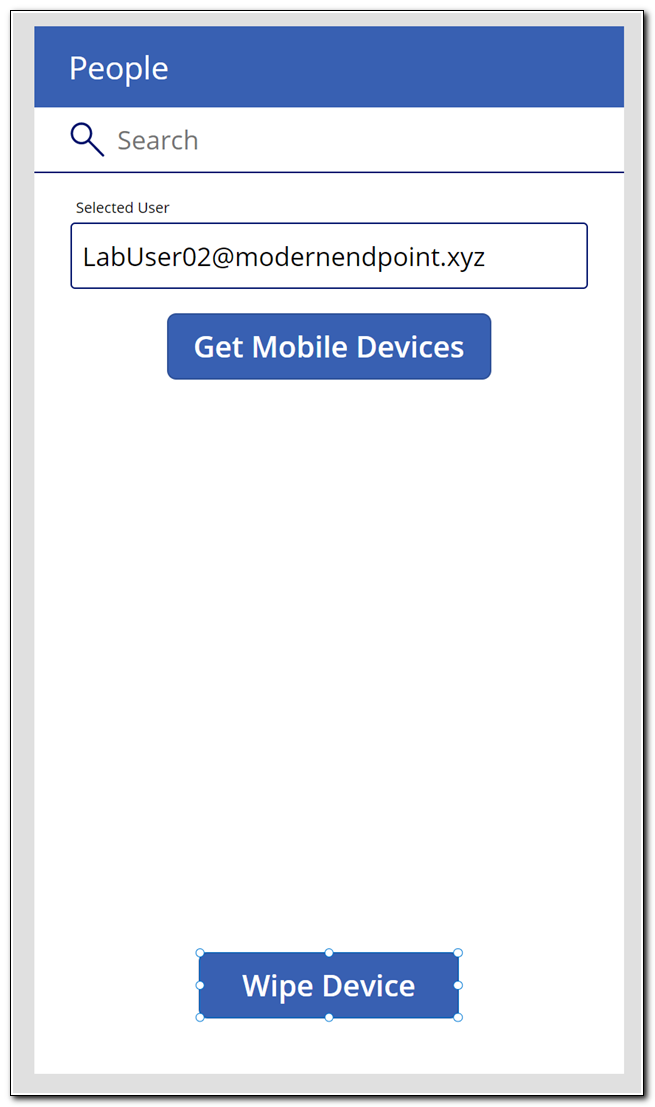
Copy the button and paste it back into the canvas. Rename the button and change the text property to “Retire Device”. (I know that’s not what the screenshot says, but it’s a more accurate description of the action we are taking!) Drag the button to the bottom of the screen in line with the first button. It should snap to the correct vertical position.
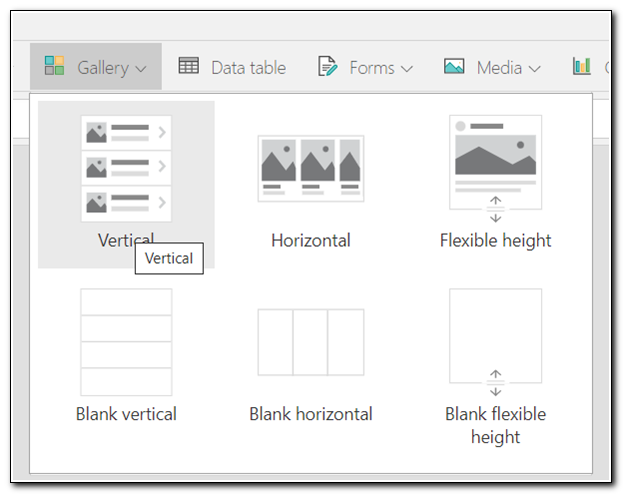
The first button will call a Power Automate flow that will return a list of our selected user’s devices. When we return the devices, we want to display the device name and managed device ID. We can do that with a gallery control. Click on the “Gallery” button on the ribbon. This will open a menu with several different gallery options to choose from. For this example, select “Vertical.”
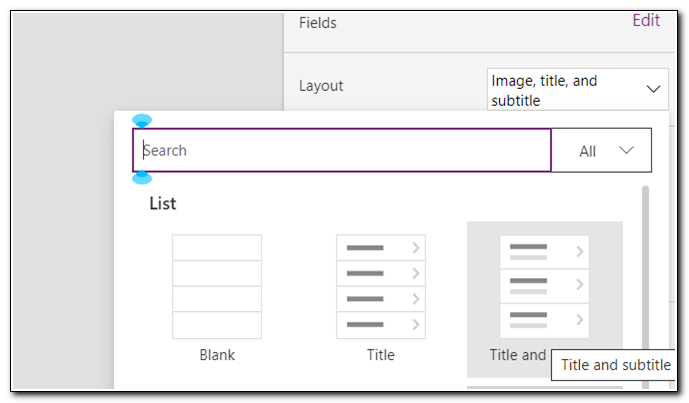
In the gallery control’s properties, select Layout. Change the layout to “Title and Subtitle.” This will remove the preview image from the screen. The gallery will now show elements for the title, subtitle, and an arrow icon in the tree view.
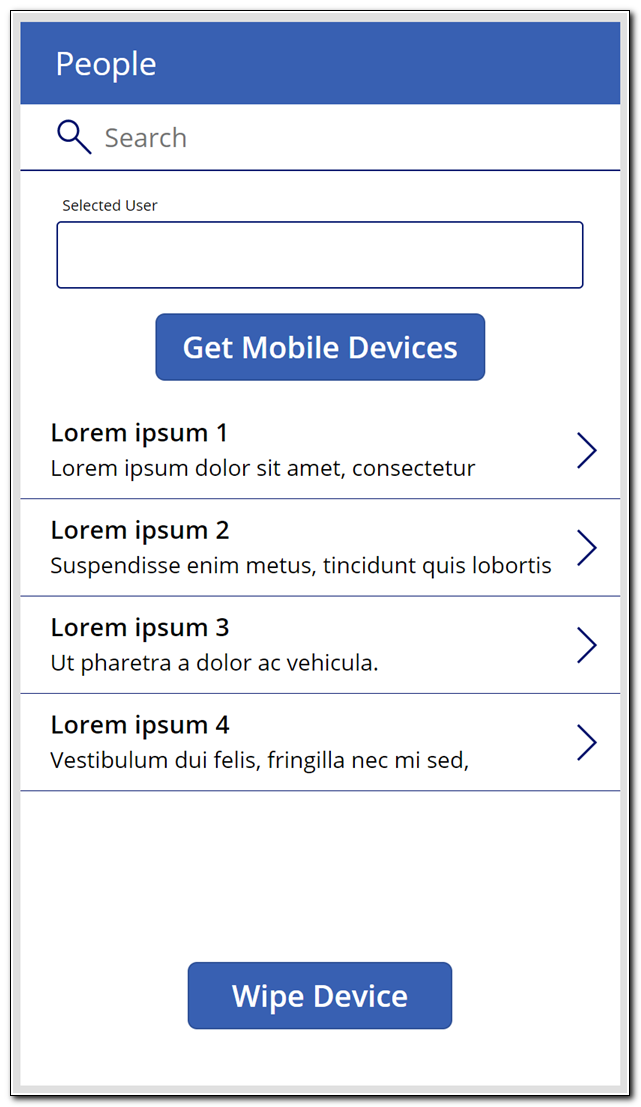
The gallery will appear with sample text. All the required controls have now been added to the canvas. Next, we will import the Power Automate flows that will be used to make calls to Microsoft Graph when we click on our buttons.
We need to import the Power Automate flows to our canvas app. There are a few different ways to do that, but the easiest and most functional is by adding the Power Automate pane to the canvas. This is a preview feature. Click File > Settings to open the settings menu. Select “Upcoming Features.” Scroll down the Preview menu and toggle the “Enable Power Automate pane” switch to on.
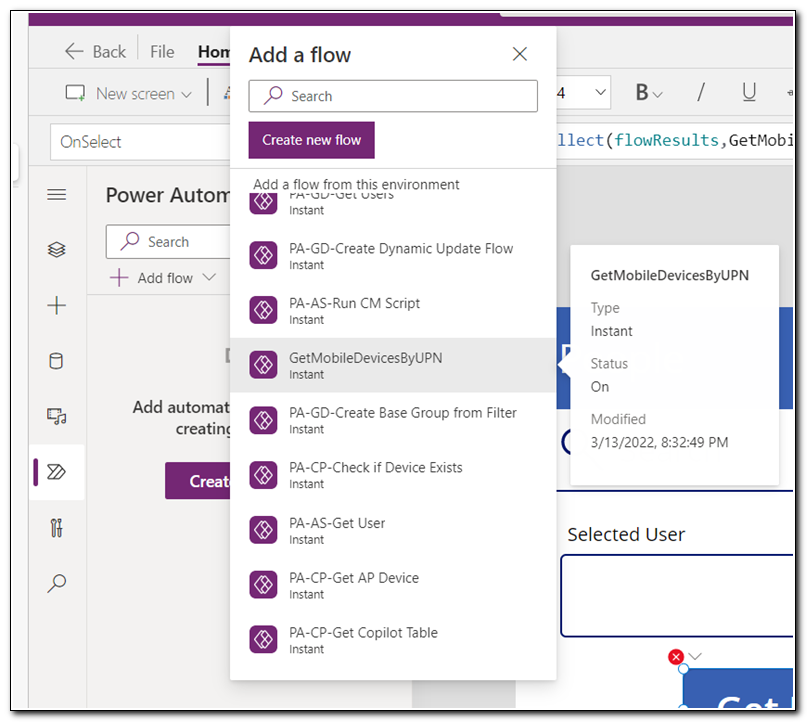
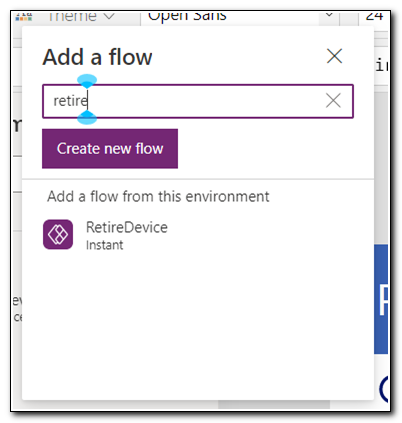
Click the Power Automate icon on the left nav bar. Click on “Add Flow.” Search for the Get User Devices flow we created in the earlier post and click on it to add it to the canvas.
Repeat the above step to add the RetireDevice flow to the app.
All of the required elements have now been added. Select the Get Mobile Devices button, click on the dropdown menu and find the OnSelect property.
When we click on this button, we want to run the Power Automate workflow to return a user’s devices. The list of devices should be returned to a collection. If the collection already exists, we want to clear it and populate it with the updated information. can clear the collection (or create a new one) using the ClearCollect function. This function uses the following syntax:
ClearCollect( _[CollectionName]_ , _Values to add to collection_ )
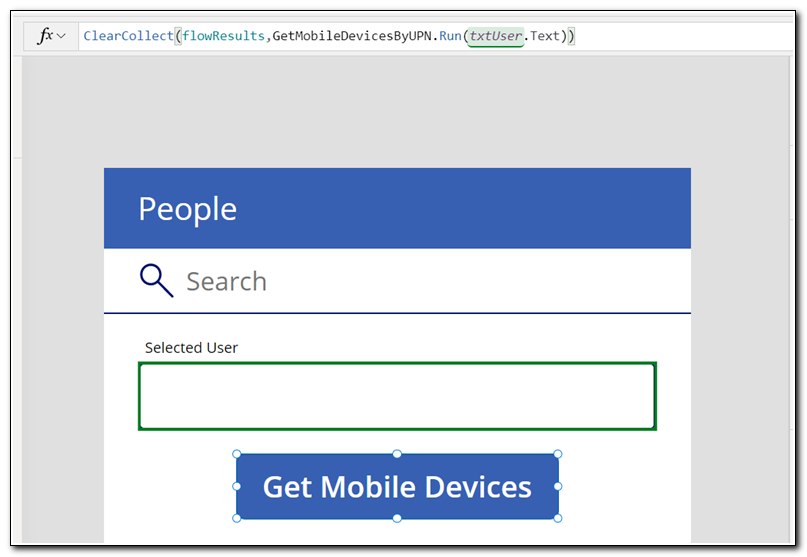
In this case, we will use the following formula to clear the collection flowResults and populate it with the devices returned from running Power Automate flow GetMobileDevicesByUPN:
ClearCollect(flowResults,GetMobileDevicesByUPN.Run(txtUser.Text))
The flow requires that we pass in the value of the UserPrincipalName. In this case, the Run action includes the parameter txtUser.Text, which will pass in the value stored in the selected user text box.
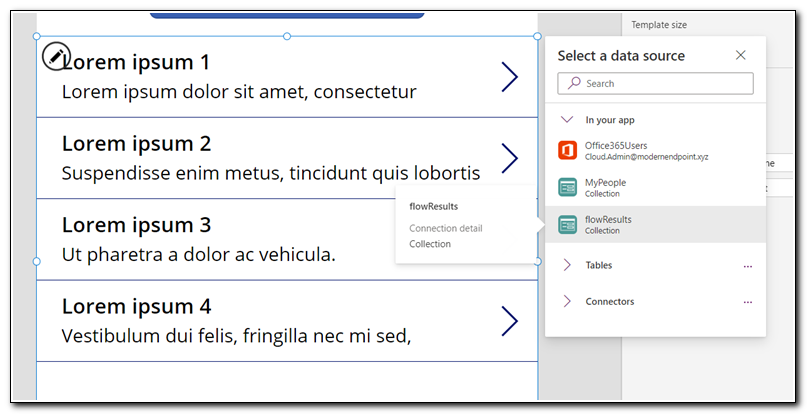
The gallery should reflect the list of devices returned from our flow. We can set the value in the gallery by changing the source of the data used in the gallery. Select the devices gallery and click on the “Data Source” property. Set the data source to the newly created collection, flowResults.
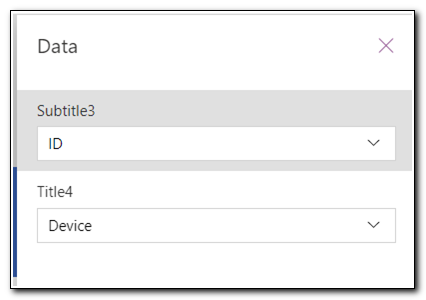
The Data source will now show the updated source value, but the fields need to be set to reflect the correct values in the flowResults collection. Click edit on the fields property.
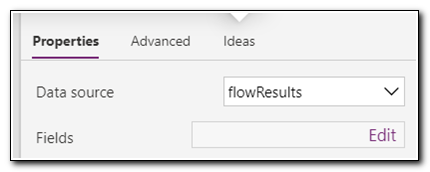
We can now set the values of the Title and Subtitle properties of the gallery to match the values returned from the flow. Set the subtitle to show the ID returned and the Title to show the Device.
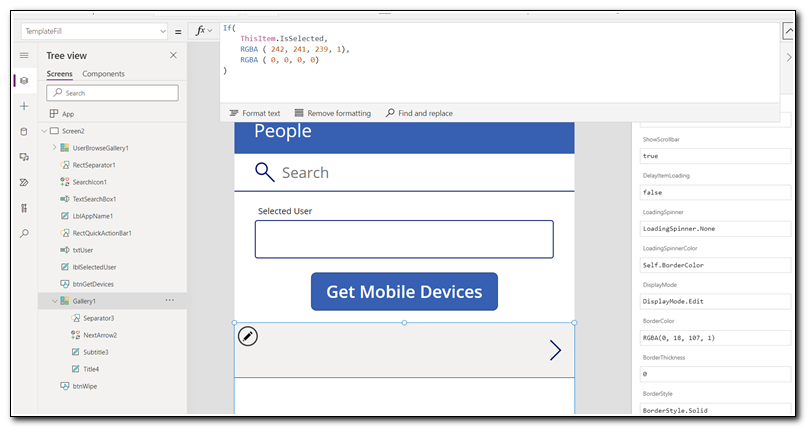
Click on the gallery name in the tree view. We want to highlight the selected item in the gallery. We can do that using an if statement. If statements use the format:
If( _Condition_ , _Action If True_ , _Action if False_ )
Select the Template fill property from the list of properties, and set the value to:
    If(

        ThisItem.IsSelected,
        RGBA ( 242 , 241 , 239 , 1),
        RGBA ( 0 , 0 , 0 , 0)

    )
Finally, we are ready to set the OnSelect property of the retire device button. In this case, we are going to run the RetireDevice flow. That flow requires the managed device ID, which is stored in the flowResults collection and displayed in the ID field of the gallery. We also want to return feedback to the app if the action was successful.
RetireDevice makes a POST request to retire a managed device. A successful response will return a status code of 204, which means the action was successful, but no content was returned. We will use an If statement to run the flow and check the return code. If it returns a response of 204, we will use the notify function to return a message to the app.
Enter the following command in the button’s OnSelect property:
If((RetireDevice.Run(Gallery1.Selected.ID).result=”204”),Notify(“Device Retire Successful”)

The app is now complete and ready for testing. Click on the preview button on the ribbon to run the application.

Begin typing a user principal name to search for user. After you begin typing, it should automatically search for a user and begin populating the list. Click on a username to select a user.
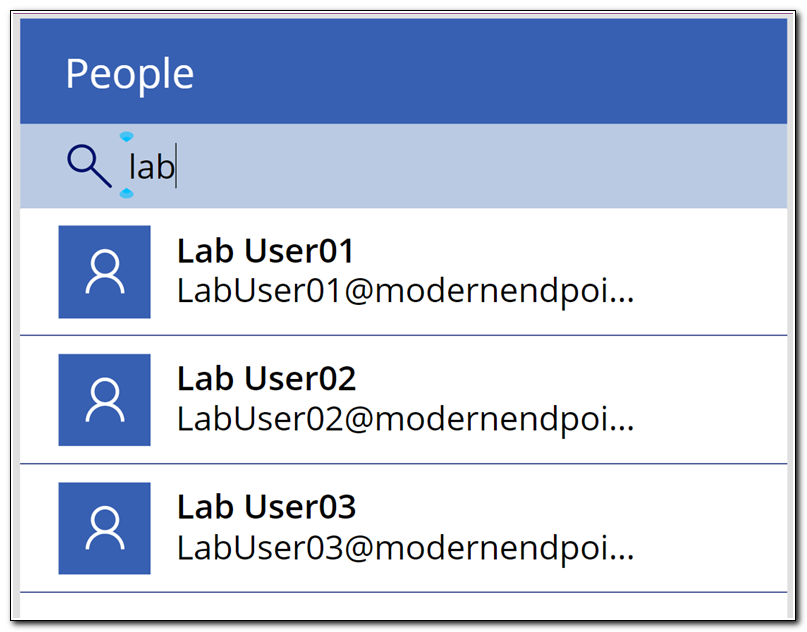
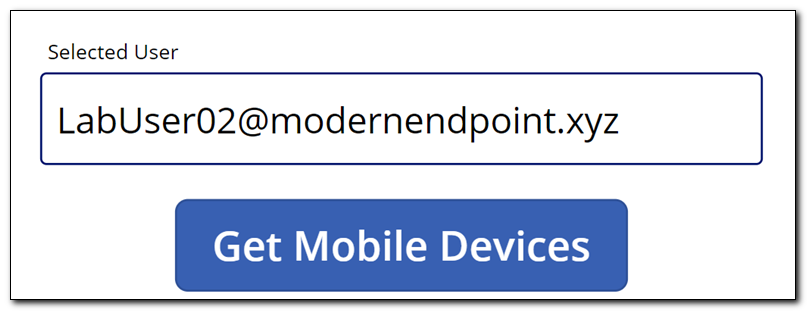
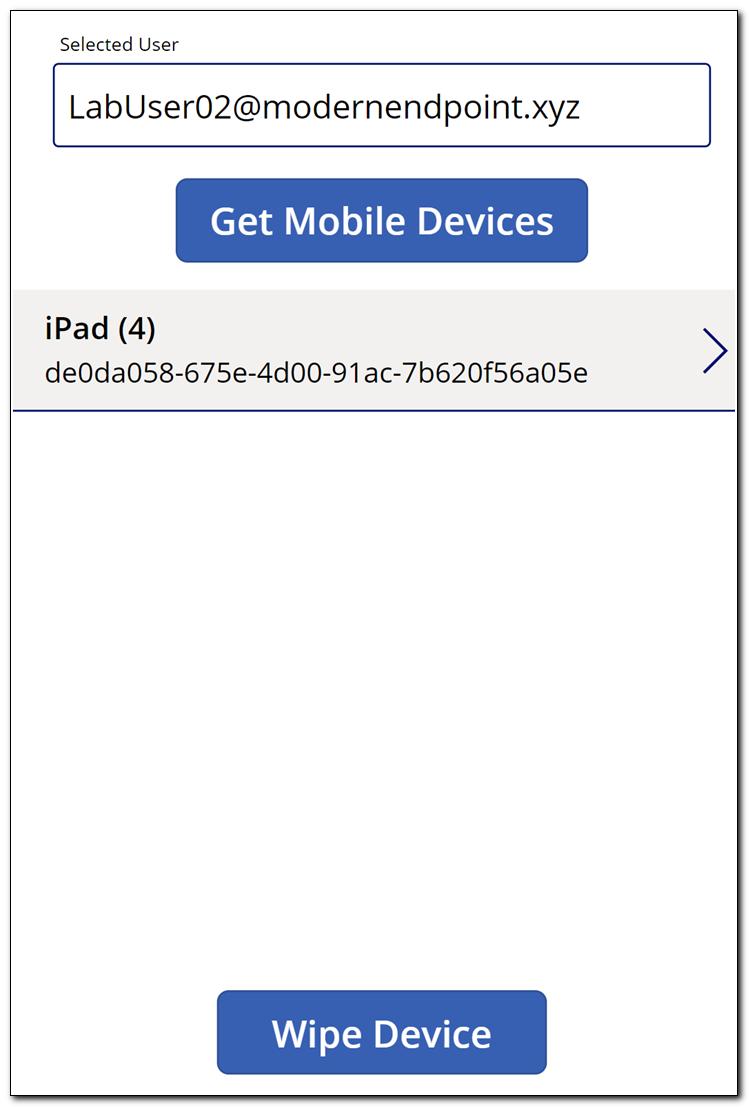
The user will appear in the selected user text box. Click “Get Mobile devices” to return the selected user’s mobile devices.
The user’s mobile devices will be returned. Select a mobile device. After selecting a device, it should be highlighted. Click “Retire device” to retire the mobile device.
After the flow has completed successfully, a message will be returned to the app stating it has been retired successfully.

Yahtzee!
The last three blog posts have provided a step-by-step tutorial on how to build the complete Intune Management Power App we built in our session at MMS. It was a click by click demonstration and was designed to help an endpoint administrator understand how they can use Microsoft Graph, Power Automate, and Power Apps to build their own applications for managing Intune. It is not meant to be a finished product, rather a jumping off point. I have also shared a more complete version of the app with additional features, which I talk about in this post.
I will continue to explore Power Apps in future posts and share additional tools that I have built. Those posts won’t be designed as click by click tutorials, but I will share insights into those apps and the steps I am taking as I go. Bookmark this tutorial and come back to it if you have any questions about the basics – but I hope you will continue to explore on your own!
Keep following for more great content on building tools and automations for managing Microsoft Endpoint Manager using Graph, Power Platform, and more!
This post has been the latest post in my series on automating endpoint management tasks with Microsoft Graph and the CM AdminService. I have a few more planned posts in this series, but even once the series has been completed I will continue to explore Power Platform, Microsoft Graph, and the AdminService.
Follow the full series below:
- Everything I wanted to know about APIs but was afraid to ask
- Connecting to Microsoft Graph with PowerShell
- Troubleshooting Microsoft Graph App Registration Errors
- Defining a script and finding the Microsoft Graph Calls
- Splatting with Invoke-RestMethod in PowerShell
- Updating Device Management name in PowerShell with Microsoft Graph
- Surprise Post:Adding Filters to application assignments with PowerShell and Microsoft Graph
- Working with Azure Key Vault in PowerShell
- Creating an Azure Automation Account
- Setting up a Hybrid Worker on an Azure Arc Enabled Server
- Connecting an Azure Automation Account to the Configuration Manager AdminService
- Running an Azure Automation runbook to update MEMCM Primary User
- Using Power Automate to update MEMCM Device based on Intune User
- Comparing Invoke RestMethod to the PowerShell SDK
- MMS Intune Management PowerApp Demo Part 1: Creating the PowerAutomate flows
- MMS Intune Management PowerApp Demo Part 2: Creating the PowerApp user lookup controls
- MMS Intune Management PowerApp Demo Part 3: Adding the buttons, gallery, and completing the app