
Setting up a Hybrid Worker on an Azure Arc Enabled Server
This is the tenth post in my blog series on automating endpoint management tasks with Microsoft Graph and the Configuration Manager AdminService! You can find the rest of the series here.
Greetings and welcome back! If you’ve been following along with my current blog series, you know that I have been writing about how to automate endpoint management tasks using Microsoft Graph. Since the beginning of this series, I have been promising to cover automation with the AdminService, too. The challenge is that I want to be able to automate tasks in both APIs from within Azure, which begs the question, “How do we connect to an on-premise API from Azure-based automation tools?”
In the last two posts, I covered how to set up an Azure Key Vault and how to set up an Azure Automation Account. On the surface those don’t necessarily sound like they are required to access either Microsoft Graph or the AdminService, but they are two of the most important building blocks for combining automation tasks between the two services. In today’s post I will configure a Hybrid Worker Group, the final building block to establishing access to on-premise resources from Azure Automation.
A bit of housekeeping
Before I dive into the meat of today’s post, I want to note a few important details that may not be adequately reflected in the step-by-step instructions below. First, in every post in this series I have strived to provide a way to automate the configuration process. After walking through this process, I found one step I don’t have a way to automate yet (I will update this post when I find it, and include the steps required to configure it automatically).
Next, there are a few pre-requisites that you will need to have to perform these tasks. This post assumes that you have already configured an automation account. You will also need to have an on-premise server to add to the Hybrid Worker group. This can be an existing server in your environment. If you are setting up a new server, it should have at least two cores and 4GB of RAM. The server will also need to be able to communicate with other servers in your on-premise environment. If the Remote Server Administration Tools PowerShell module is not enabled, please enable it before running the test at the end of this post. It can be enabled by running the following cmdlet from an Administrative PowerShell prompt:
Install-WindowsFeature RSAT-AD-PowerShell
It’s also worth noting that this post will deploy an extension-based hybrid worker. As of the time of this writing this feature is still in preview. If extension-based hybrid workers are deprecated, this post will be updated. Typically, I avoid using preview features in my blog posts, but in this case, it provides a much easier way to deploy hybrid workers than an agent-based worker. The alternative (and original plan for this post) was to deploy an agent-based Hybrid Runbook Worker, which requires additional overhead, including setting up Log Analytics and deploying an agent to the machine.
The Good Stuff – Registering our server with Azure Arc
You didn’t come here to read my ramblings on why I’m writing this blog series, so let’s dive in. An extension-based hybrid worker requires an Azure Arc enabled server. We will start by enabling Azure Arc in our subscription and adding our server to Azure Arc. Arc provides an infrastructure management platform that gives administrators a consistent experience across the cloud and on-premise environments.
Adding servers to Azure Arc can easily be done with a PowerShell script. We can generate the script directly in the Azure Portal.
Sign in to the Azure Portal. Click on “Servers – Azure Arc.” If it is not visible on the home screen, search for it in the search bar and click the link to be taken to the Azure Arc Servers blade.
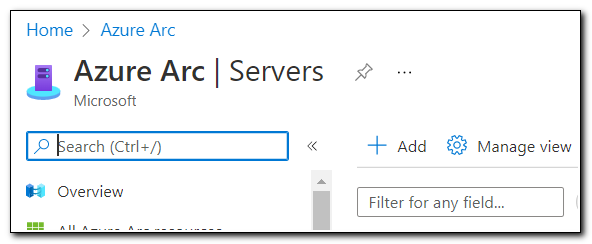
Once in the Azure Arc Servers page click “+ Add” to add a new server.
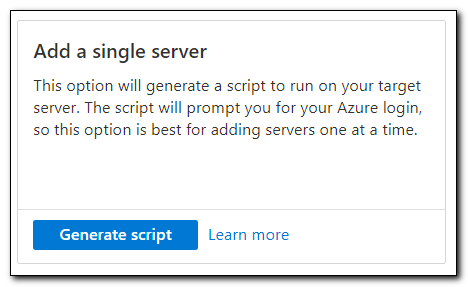
We can generate a script that can be used across multiple servers with the “Add a Single Server” option. Click on “Generate Script” to generate the script.
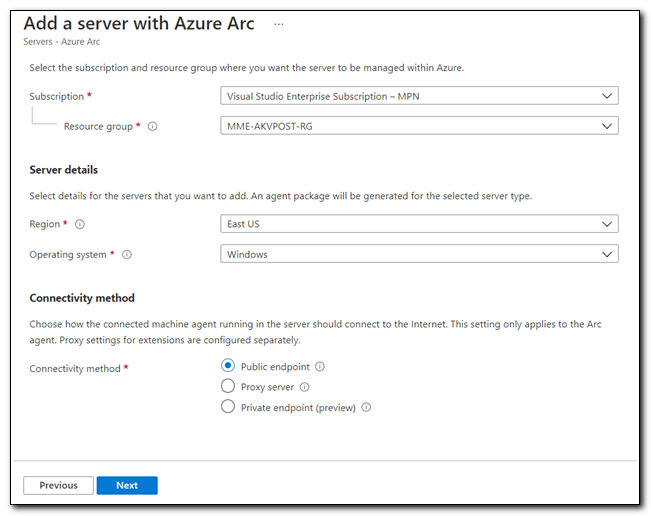
On the “Add a server with Azure Arc” page select your subscription, resource groups, and region. Set the operating system to Windows and select public endpoint as the connectivity method. Click “Next” when ready to proceed.
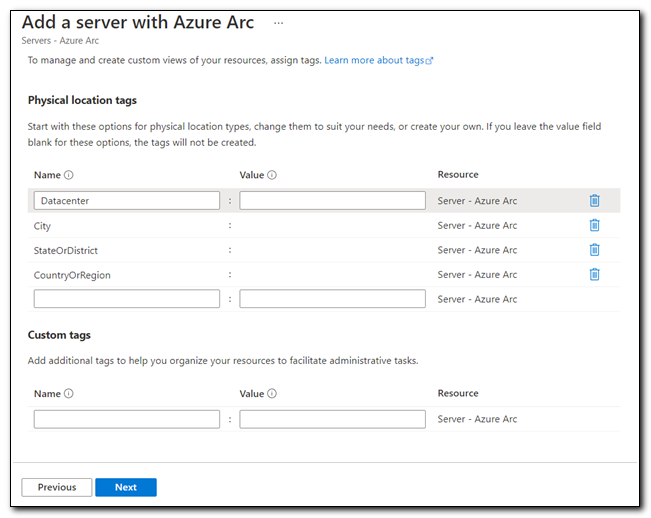
Physical location and custom tags are not required. If you have specific tag requirements in your environment, fill them in here, otherwise leave it blank and click “Next.”
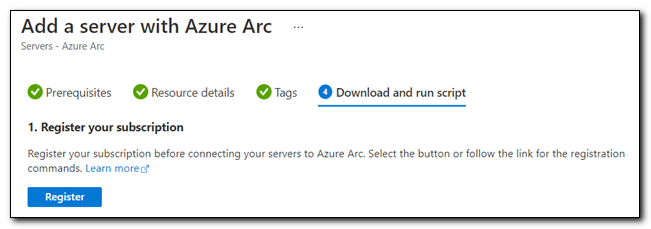
If your server hasn’t already been registered for Azure Arc, click “Register” to register your subscription.
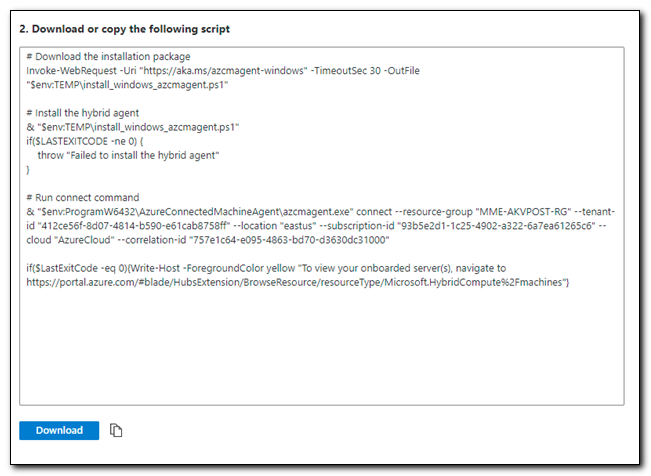
Download the script that was generated (or copy the content to a PowerShell window on the target server). The default name should be “OnboardingScript.ps1.”
This script performs three basic tasks. First, it downloads another script that installs the Azure Arc agent, then it executes that script, and after successfully installing the agent, it onboards your server to Azure Arc.
Copy the script to your target server. Put it in a location that you can easily access from a PowerShell prompt. In this instance, I placed the script in C:\Temp. Run the script from an Administrative PowerShell window.

This script uses interactive authentication. When prompted open a browser on your target server and go to https://Microsoft.com/devicelogin. Enter the device code from the PowerShell console and follow the on-screen prompts to login. Close the browser when authentication has completed.

After you complete the authentication process you may need to hit Enter in the PowerShell window. Once the script as completed you should receive a success message similar to the following:

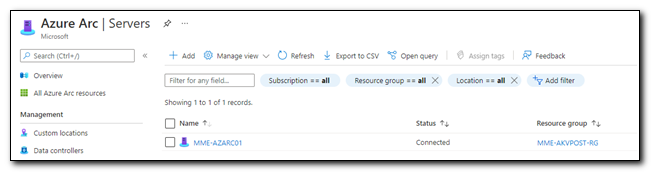
The device should be now visible in Azure Arc.
Creating the Hybrid Worker in Azure Automation
Once the server has been created, we can create the Hybrid Worker. This process is completed in Azure Automation. In the Azure Portal click on “Automation Accounts” to open a list of Automation Accounts.
Open the Automation Account you would like to use to create the Hybrid Worker. Click on “Hybrid Worker Groups” under Process Automation.
On the Hybrid worker groups page, click “+ Create hybrid worker group.”

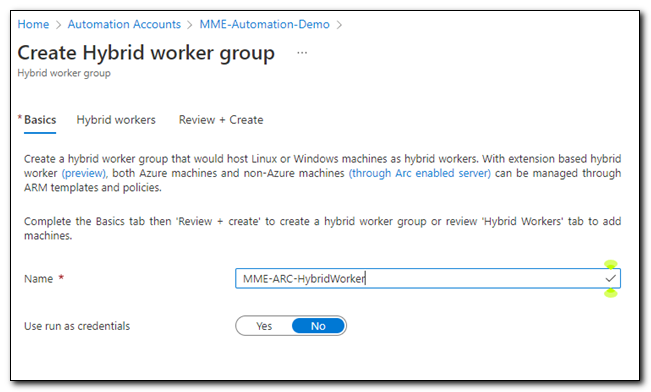
Assign a name to your hybrid worker group. Set “Use run as credentials” to No. Click “Next” to move to the Hybrid workers tab.
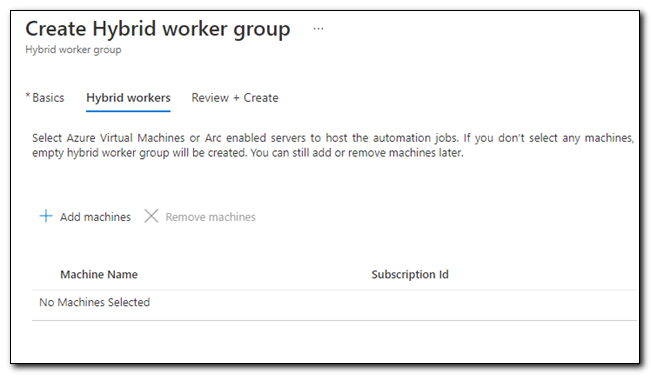
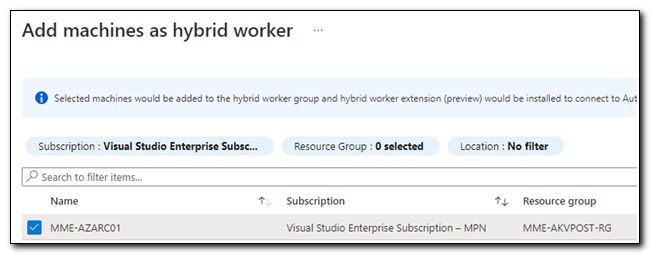
On the Hybrid workers tab, click “+ Add machines” to add the Arc enabled server to the Hybrid worker group.
Check the box next to the server’s name and then click “Add” to add it to the Hybrid worker group.
Once you have added the server, you are ready to create the Hybrid worker group. Click “Review + Create” to be taken to the confirmation screen. Click “Create” when you are ready to create the hybrid worker group.

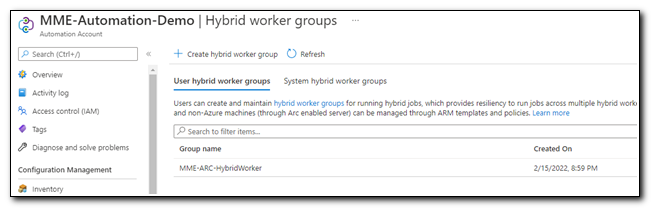
The Hybrid worker group should have been created as a User hybrid worker group.
Testing the Hybrid Runbook Worker
Now that we have created a Hybrid Worker Group, we should be able to run PowerShell scripts against on-premise infrastructure directly from Azure Automation. My next post will explore connecting to the AdminService, but before we do that, we need to test our hybrid worker to make sure we have connection to our on-premise environment.
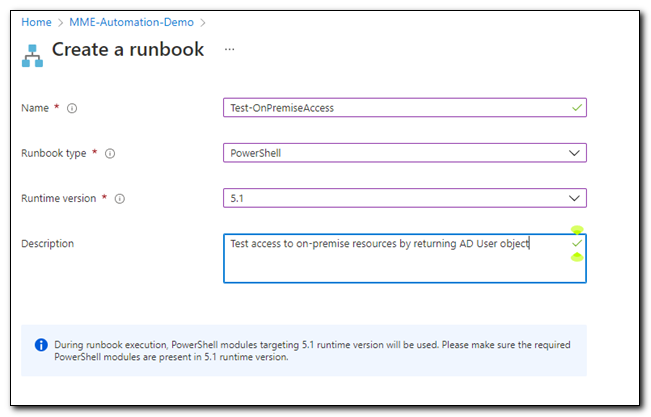
All of the infrastructure is now in place to be able to access on-premise resources from Azure Automation. We are ready to create a runbook to test the connection. Click on “Runbooks” under Process Automation and then click on “+ Create a runbook.”
Assign a name to your runbook. Set the runbook type to PowerShell and the runtime version to 5.1. Click “Create” to create the runbook.
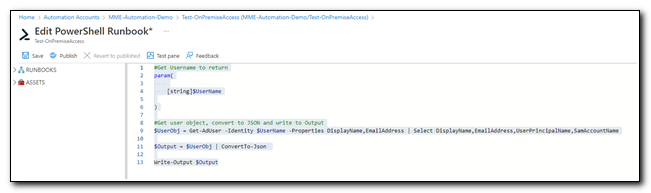
Copy the following script and paste it in the script window in the runbook.
#Get Username to return
param(

    [string]$UserName

)

#Get user object, convert to JSON and write to Output
$UserObj = Get-AdUser -Identity $UserName -Properties DisplayName,EmailAddress | Select DisplayName,EmailAddress,UserPrincipalName,SamAccountName

$Output = $UserObj | ConvertTo-Json

Write-Output $Output
Click “Save” to save the runbook, then click “Test pane” to launch the runbook test pane.
Our script is looking for an AD User using the Get-AdUser cmdlet. On the test pane, we will need to pass in an on-premise SamAccountName property. Under Run Settings, set Run on to “Hybrid Worker.” This tells Azure Automation to run the runbook on a server in our Hybrid Worker group. Select your hybrid worker group and then click “Start.”

Once the test has been completed our on-premise user object should be returned. This validates that our Hybrid Worker Group was properly configured and we can now manage on-premise resources from Azure Automation.

On to the next!
Thank you for taking the time to visit and read my blog! This series has been a lot of fun to write. I keep learning more with each new post, and while I have already covered a lot of different topics, there’s still more to come!
In my next blog post, I will talk about how to connect to the Configuration Manager AdminService from Azure Automation. The last several posts have been focused on setting up the infrastructure for automating tasks in Azure and connecting to your on-premise environment. Now that the infrastructure is in place, we can begin to explore how we can manage endpoint management tasks using the REST APIs that span both Intune and Configuration Manager.
Follow the full series below:
- Everything I wanted to know about APIs but was afraid to ask
- Connecting to Microsoft Graph with PowerShell
- Troubleshooting Microsoft Graph App Registration Errors
- Defining a script and finding the Microsoft Graph Calls
- Splatting with Invoke-RestMethod in PowerShell
- Updating Device Management name in PowerShell with Microsoft Graph
- Surprise Post:Adding Filters to application assignments with PowerShell and Microsoft Graph
- Working with Azure Key Vault in PowerShell
- Creating an Azure Automation Account
- Setting up a Hybrid Worker on an Azure Arc Enabled Server
- Connecting an Azure Automation Account to the Configuration Manager AdminService
- Running an Azure Automation runbook to update MEMCM Primary User
- Using Power Automate to update MEMCM Device based on Intune User